I've got the other 2 paper doll cartridges and have used them a lot for a long time but the one thing I would have liked from them was for the characters to be a bit more realistic. This is where the newer Paper Doll cartridge is great. There are 2 male & 3 female characters in different poses with about 10 different outfits, hairstyles & accessories per character.
The handbook is set out to try and make the creation of the characters easier by showing you an idea of the colour to use and the layers are recorded in order. This does mean that you have some card/paper waste through the layering but it is easier to follow. I found that paper worked better than card as you do end up with quite a few layers at the end and can have a very thick topper if you use card.
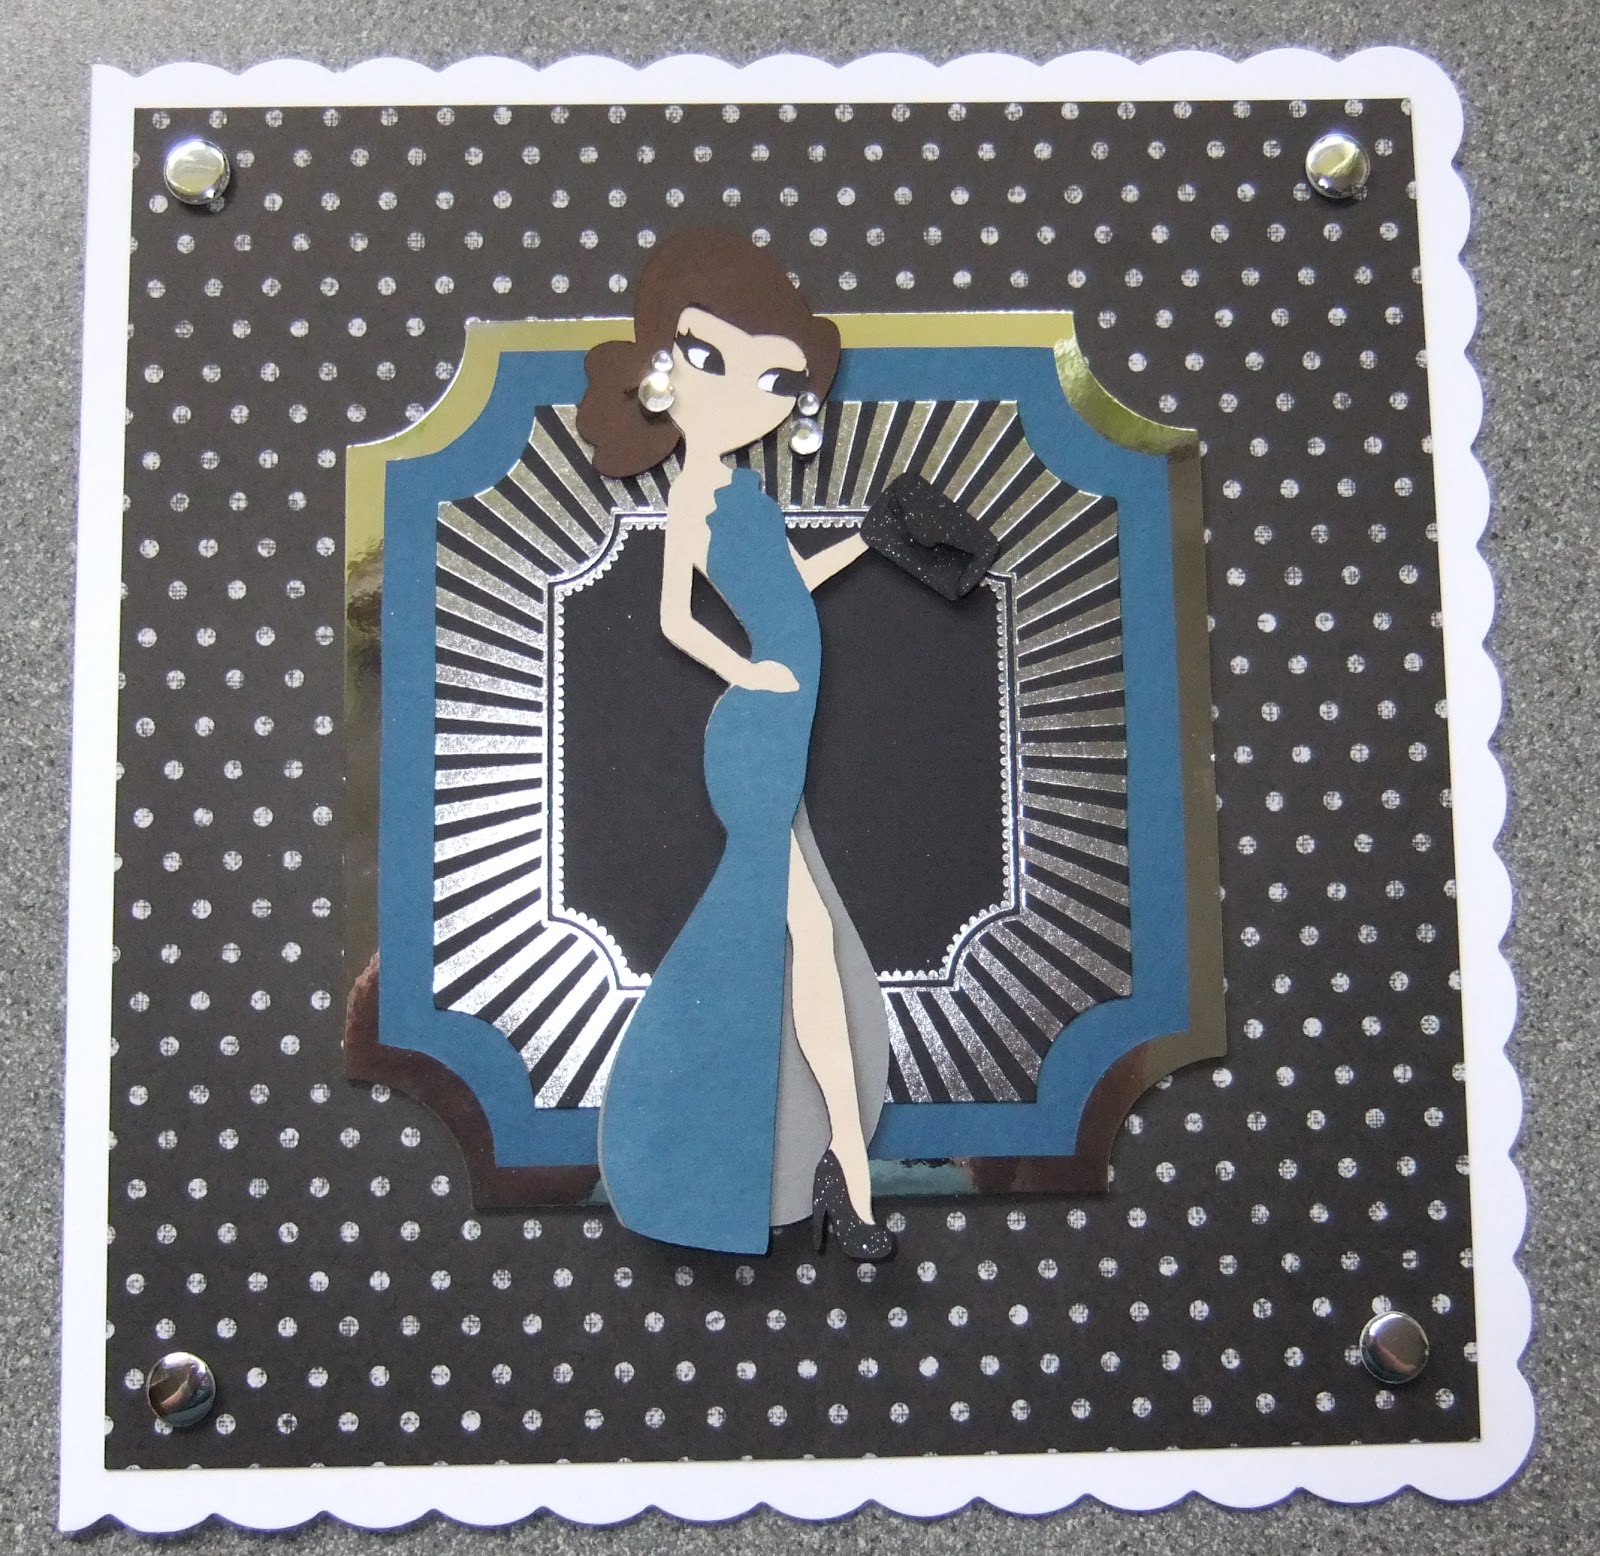

These are the 2 cards that I have made so far, both starting with a Craftwork Cards 8x8 scallop edge base card. The one on the left was inked with new 'Picked Raspberry' distress ink. Both cards were then layered with DCWV papers from 12x12 stacks (teenage dream & la creme). I then used Kanban stackable mats to create the layers behind the characters, inking the pink one, and using a mat as a template to create the blue one to exactly match the colour used in the dress. The card on the right was finished with silver mirror card candi.
Here are the characters in detail


I'll try to explain why some paper is wasted when you make them! You basically start by cutting the entire character (+ fringe) in your chosen hair colour. You then cut the whole body in white, the whole body with eye holes in black and then the whole body with larger eye holes in your chosen skin colour. This is done to create the effect of the fabulous eyelashes which look great, but I think could probably be done without also cutting the legs, arms etc. If I find a way to solve this, I'll blog about it but I am really happy with the results. You then choose your colours for clothes, shoes etc. and layer up the image as shown in the handbook, which is now much more detailed than the old versions.
I've already made up some other characters but just not got round to putting them on cards yet- I'll post them when I do.
Also, the variation of the characters is great and as well as generally girly cards, there are graduation outfits, wedding style dresses & sporty outfits. The male characters include skateboarders, guitarists & sports such as basketball as well as more general gym/weights. There is also a really good one with headphones & an ipod. They will make great cards for those famous 'awkward teenagers' that all crafting companies seem to be going for at the moment!
No comments:
Post a Comment